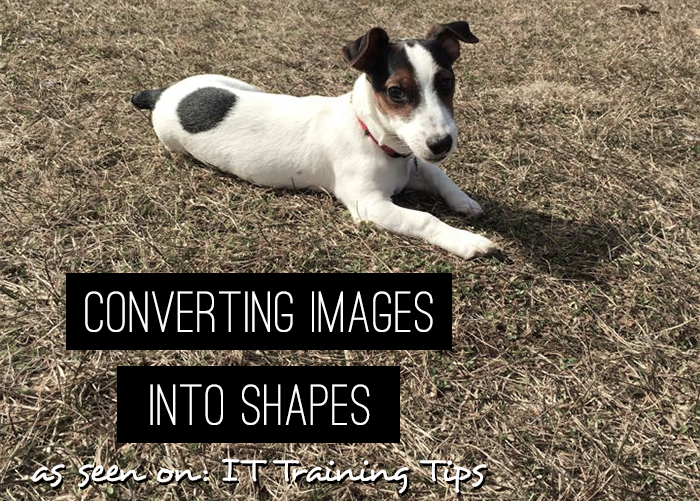
Converting Images into Shapes [As Seen on: IT Training Tips]
Whether you're writing a blog post, creating an awesome poster with Beth, or simply making a scrapbook to save your memories, being able to turn your images into fun and funky shapes is always a blast. No matter what shape you want to put your image in, it's instantly going to be more fun and graphically pleasing--don't get me wrong, this isn't for every person and every project. But why not loosen up a bit and make some super cool shaped pictures of your puppy.
Step 1- Open your image in Photoshop
First and foremost, you need to launch Photoshop and open up your image. There are a lot of online programs and other software that can crop images into shapes too, but I feel most comfortable with Photoshop, so that's what we'll be using today.To open your image in Photoshop you can either right click on the image and select Open with > Photoshop, or launch Photoshop and go to File > Open > yourimage.jpg

Step 2- Find a shape graphic
Find a shape you want on Google, Bing, or where ever you can. I googled "bracket shape graphic" and found this one. Don't worry if it has a white background, or a space that just needs deleted, you can do that in Photoshop too. Check out our materials for our workshop, Photoshop CS6: The Basics, or sign up and attend online or in person, and learn how to make those changes.
Step 3- Drag the shape onto your image
Next, drag the shape graphic on to your image. You can do this by using the Move Tool and clicking on the graphic and pulling it up to the tab that is your image and then placing it on top. Feel free to re-size and rotate it as you need to make the shape fit right over the area you want to crop.
Step 4- Turn the background into a layer
This step is super simple, but so very important. We need to turn the background into a layer so we can manipulate it and delete it. Double click on the background layer over on the right side of your Photoshop application. A pop up window should appear--you can name your layer or just leave it as the default of layer 0. Click okay to confirm.
Step 5- Delete the image outside of your shape
By using the Magic Wand Tool, you can select the entire area outside of your shape with one click. If you can't find the Magic Wand Tool, it might be because you've used it before as the Quick Selection Tool. If that is the case just click and hold in order to change to the Magic Wand Tool. Also, make sure that you are on the layer that has your shape graphic in order to select the area around the shape. And then after you've selected it, move down to layer 0 that has your image and click the delete button or your backspace key.And boom, you're done. If you still have marching ants around everything just do the keystroke ctrl+d to deselect everything. Also, it might be a good idea to simply delete the layer that has your shape on it unless you want a border around your image.
Once you've mastered turning your image into a shape it will be much simpler to do lots more in the future. If you have any questions or need any help feel free to leave a comment below. And don't forget to sign up for our Photoshop classes to learn even more!
This blog post was written by Danyell on ittrainingtips.iu.edu, a blog written by UITS IT Training staff in order to inform readers of tips, tricks, and useful tools when combating different technology, software, and online devices. Check out IT Training Tips for a daily dose of knowledge that's quick and on the go.


